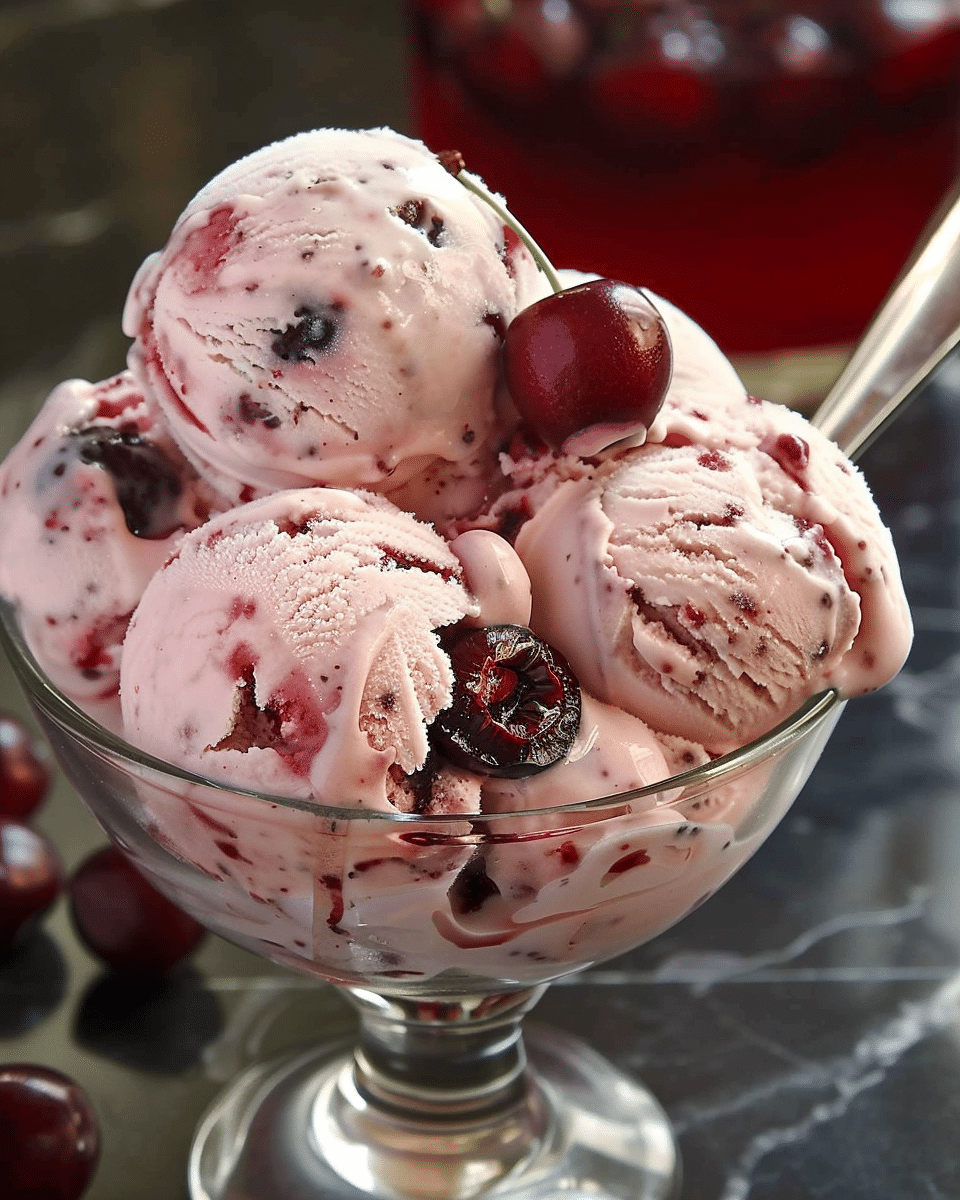
Why You’ll Love This Recipe
-
Fresh & Fruity: Made with real cherries for a naturally sweet and slightly tart flavor.
-
Creamy Texture: A smooth, velvety base from heavy cream and whole milk gives this ice cream a luxurious mouthfeel.
-
Simple Ingredients: No artificial flavors or colors—just wholesome, kitchen staples.
-
Perfect for Summer: A refreshing dessert for sunny afternoons and backyard gatherings.
Ingredients
-
2 cups cherries, pitted and halved
-
1 cup heavy cream
-
1 cup whole milk
-
3/4 cup granulated sugar
-
1 teaspoon vanilla extract
-
Pinch of salt
(Tip: You’ll find the full list of ingredients and measurements in the recipe card below.)
Directions
Step 1: Prepare the Cherries
In a small saucepan over medium heat, cook the cherries with 1-2 tablespoons of sugar (from the measured amount) until they release juices and soften, about 5–7 minutes. Let cool completely, then blend half of them into a purée if desired for a smoother texture.
Step 2: Make the Ice Cream Base
In a mixing bowl, whisk together the heavy cream, whole milk, remaining sugar, vanilla extract, and a pinch of salt until the sugar is fully dissolved.
Step 3: Combine and Chill
Stir in the cooled cherries and cherry purée. Cover and refrigerate the mixture for at least 2 hours or until thoroughly chilled.
Step 4: Churn
Pour the chilled mixture into your ice cream maker and churn according to the manufacturer’s instructions, usually 20–25 minutes.
Step 5: Freeze
Transfer the churned ice cream to a freezer-safe container. Freeze for at least 4 hours or until firm.
Step 6: Serve
Scoop and serve your homemade cherry ice cream in bowls or cones, and enjoy!
Servings and Timing
This recipe makes about 6 servings and takes approximately 30 minutes of active prep, plus chilling and freezing time.
Variations
-
Chocolate Cherry: Stir in mini chocolate chips or chocolate chunks before freezing.
-
Chunky Style: Leave all the cherries in halves or quarters for a chunky fruit texture.
-
Dairy-Free Option: Use coconut cream and almond milk as substitutes for a dairy-free version.
Storage/Reheating
-
Storage: Store in an airtight container in the freezer for up to 2 weeks.
-
Reheating: Let the ice cream sit at room temperature for 5–10 minutes before scooping for the best texture.
FAQs
Can I use frozen cherries?
Yes, just thaw them first and drain any excess liquid before cooking.
Do I need an ice cream maker?
While it’s easiest with an ice cream maker, you can pour the mixture into a container and freeze, stirring every 30 minutes for 3 hours for a no-churn version.
How long does it take to freeze?
After churning, allow 4 hours for the ice cream to fully set in the freezer.
Can I use other fruit instead of cherries?
Absolutely! This recipe works well with berries, peaches, or mangoes.
Conclusion
Homemade Cherry Ice Cream is a refreshing, flavorful dessert that’s easy to make and packed with real fruit goodness. Whether enjoyed on its own or as part of a decadent sundae, this ice cream is sure to become a seasonal favorite for the whole family.
Homemade Cherry Ice Cream
5 Stars 4 Stars 3 Stars 2 Stars 1 Star
No reviews
Homemade Cherry Ice Cream is a creamy, fruity dessert made with real cherries and simple ingredients. This refreshing summer treat features a smooth texture and natural sweetness, perfect for cooling off on warm days. No artificial flavors—just pure cherry goodness!
- Author: Amy
- Prep Time: 30 minutes (active)
- Total Time: 6 hours 30 minutes
- Yield: About 6 servings
- Category: Dessert, Ice Cream
- Method: Churning, Freezing
- Cuisine: American
- Diet: Vegetarian
Ingredients
2 cups cherries, pitted and halved
1 cup heavy cream
1 cup whole milk
3/4 cup granulated sugar
1 teaspoon vanilla extract
Pinch of salt
Instructions
-
Prepare the Cherries:
-
In a small saucepan over medium heat, cook cherries with 1–2 tablespoons of the measured sugar until softened and juicy (about 5–7 minutes). Let cool completely.
-
Optional: Blend half of the cherries into a purée for smoother texture.
-
-
Make the Ice Cream Base:
-
In a bowl, whisk together heavy cream, whole milk, remaining sugar, vanilla extract, and a pinch of salt until sugar is fully dissolved.
-
-
Combine and Chill:
-
Stir in the cooled cherries and optional purée. Cover and refrigerate for at least 2 hours or until well chilled.
-
-
Churn:
-
Pour the chilled mixture into your ice cream maker. Churn according to manufacturer’s instructions (usually 20–25 minutes).
-
-
Freeze:
-
Transfer the churned ice cream to a freezer-safe container. Freeze for at least 4 hours or until firm.
-
-
Serve:
-
Let sit at room temperature for 5–10 minutes before scooping. Serve in bowls or cones and enjoy!
-
Notes
Variations:
Chocolate Cherry: Stir in mini chocolate chips or chunks before freezing.
Chunky Style: Leave cherries in quarters for extra texture.
Dairy-Free: Use coconut cream and almond milk in place of cream and milk.
Storage:
Store in an airtight container in the freezer for up to 2 weeks.
Reheating:
Let sit at room temperature for 5–10 minutes before scooping for the best texture.


