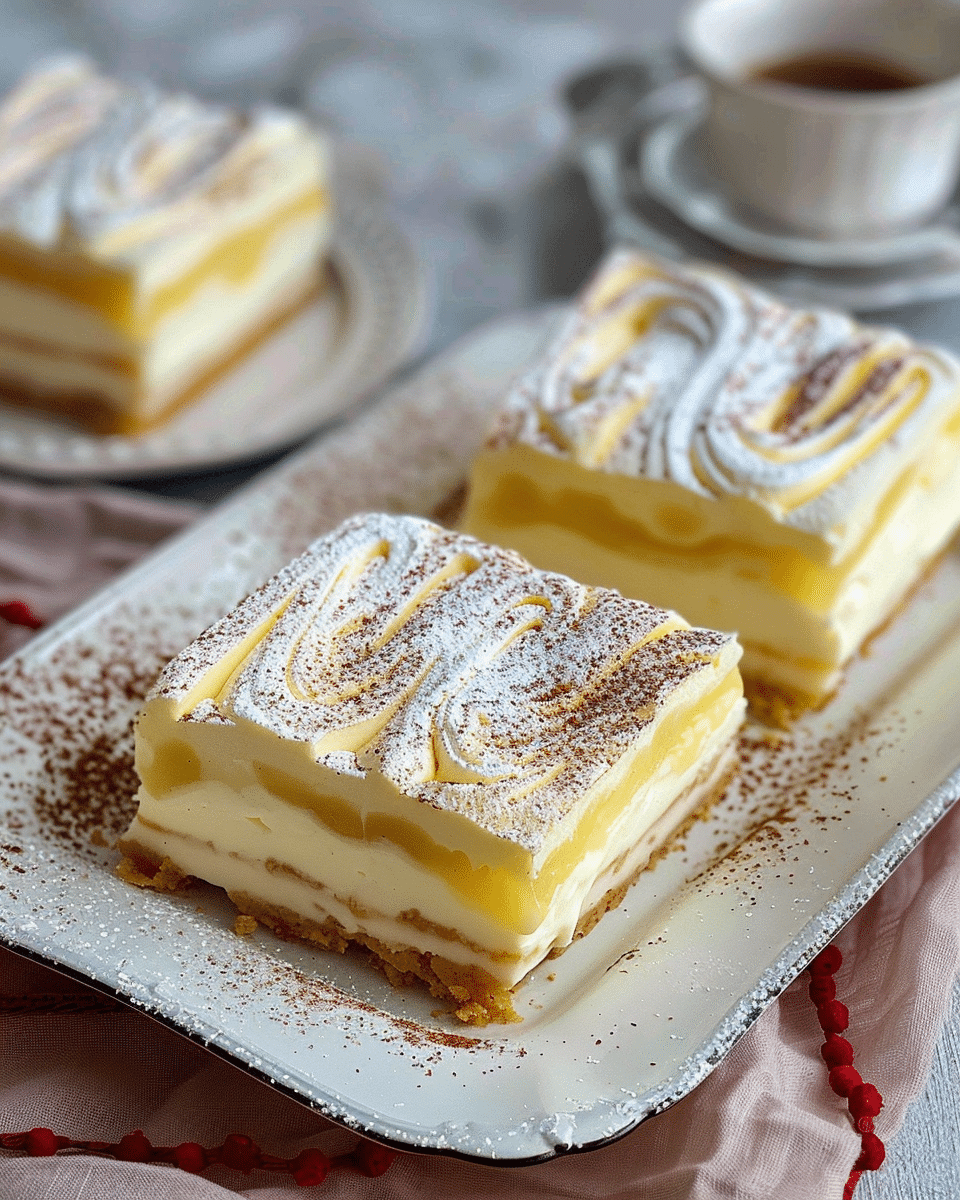
I love how the flaky pastry contrasts with the creamy custard, making every bite irresistibly smooth and crisp. I appreciate that the custard thickens beautifully on the stovetop and sets firm enough to slice cleanly after chilling. The icing adds a sweet finishing touch that gives the slice its signature look. It’s a recipe I enjoy making ahead because chilling improves both texture and flavour.
Icing 2 cups icing sugar 25g butter, softened 4-5 Tbsp hot water 1 Tbsp cocoa
(Note: All ingredient amounts are listed in the recipe card below.)
Directions
I preheat the oven to 220°C fan bake and line a 21cm square tin with baking paper up the sides.
For the pastry, I place the sheets on a lined tray, prick with a fork, and bake for 8 minutes. I press them flat with another baking tray, bake for another 8 minutes, press again, and leave to cool.
For the custard, I combine the custard powder, sugar, vanilla, and ½ cup of milk in one bowl until smooth. In another bowl, I whisk the egg with ½ cup of milk.
I heat the remaining 3 cups of milk in a saucepan over medium heat. I add the custard mixture, bring it to a boil, then simmer and stir for about 5 minutes until thickened.
I add the egg mixture and butter, stirring for 2 minutes before setting aside to cool slightly.
To assemble, I trim the pastry to fit the tin, press one sheet in, pour the custard over it, and spread it evenly. I top it with the second pastry sheet and press gently.
For the icing, I mix the icing sugar, softened butter, and hot water until smooth. I set aside 3 tablespoons, mix in the cocoa, and add water if needed. I pipe thin lines of chocolate icing across the white icing and drag a skewer through the lines in alternating directions.
I chill the slice for at least 5 hours or overnight, then cut it cold with a sharp serrated knife.
I sometimes add a splash of almond essence to the custard for a slightly different flavour.
I sprinkle desiccated coconut over the icing for texture and a retro-style finish.
I flavour the icing with lemon instead of vanilla when I want a brighter topping.
I use store-bought vanilla custard in a pinch, though I find homemade sets firmer and tastes richer.
Storage/Reheating
I store the slice covered in the refrigerator for up to 3 days. It must stay chilled so the custard remains firm. This dessert is served cold, so no reheating is required. I cut slices just before serving to keep the layers neat.
FAQs
Why does the pastry need to be pressed down during baking?
I press it to prevent the pastry from puffing too much so it stays flat for even layers.
How do I know the custard is thick enough?
I look for it to bubble and coat the back of a spoon once it reaches boiling point.
Can I use ready-made pastry?
Yes, I use any flaky puff pastry that bakes evenly and crisps well.
Why must the slice chill for so long?
Chilling allows the custard to fully set, making slicing much easier.
Can I use vanilla extract instead of essence?
Yes, I often use extract for a stronger vanilla flavour.
How do I keep the custard from going lumpy?
I whisk the custard mixture thoroughly before adding it to the hot milk and stir constantly while it thickens.
Can I make this gluten-free?
Yes, I use gluten-free puff pastry and a gluten-free custard powder.
Can the icing be coloured?
Yes, I add gel colouring to the white icing if I want a themed version.
How do I get clean slices?
I cut with a cold, sharp serrated knife and use a gentle sawing motion.
Can I freeze custard slice?
I don’t recommend freezing it because the custard can separate.
Conclusion
I love how this custard slice transforms simple pantry ingredients into an elegant dessert with crisp pastry, creamy filling, and a beautiful swirled icing. Once chilled and sliced, it’s indulgent, nostalgic, and perfect for sharing—or keeping all to myself.