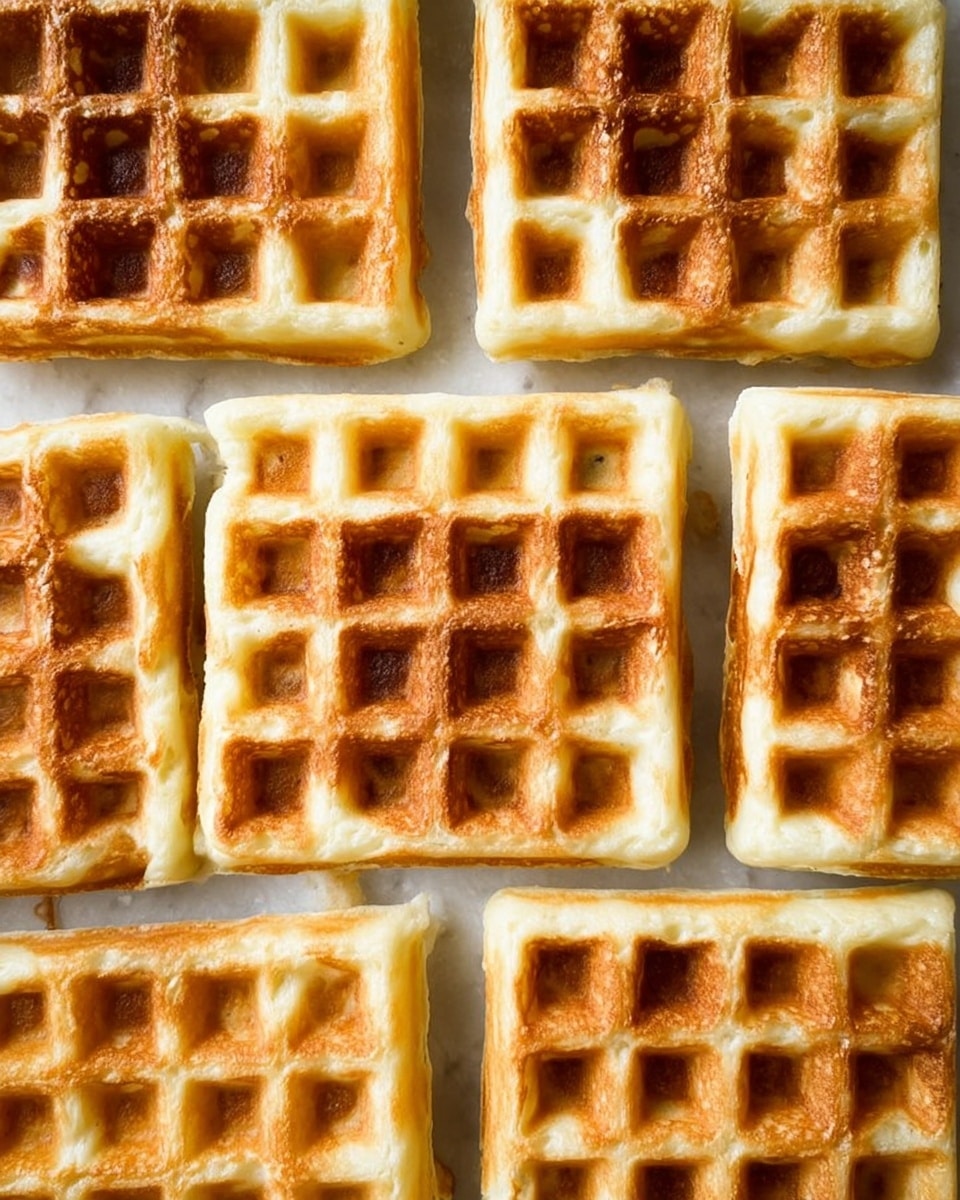
Why You’ll Love Gluten Free Overnight Yeast Waffles Recipe
I love this recipe because most of the work happens the night before, which makes mornings feel much easier. I also like that the yeast creates waffles that are airy, fluffy, and beautifully crisp once cooked. This recipe gives me a reliable make-ahead breakfast that still tastes fresh and homemade. I appreciate that it can also be adjusted for dairy-free or egg-free needs, and I find it especially helpful when I want to make a batch ahead and freeze extras for later.
Ingredients
(Note: All ingredient amounts are listed in the recipe card below.)
For Making the Batter the Night Before:
1 packet active dry yeast .25 oz
1/2 cup warm water about 100-110 F
2 tablespoons pure maple syrup
2 cups gluten free flour blend we used this one
1/4 teaspoon baking soda
1/2 teaspoon baking powder
1/2 teaspoon sea salt
1 1/2 cups whole milk warmed (about 100 to 110 F)*
1 teaspoon vanilla extract
6 tablespoons melted butter
To Make the Waffles Day-Of:
2 eggs*
Butter or other oil of choice for greasing the waffle iron and for topping
Maple syrup for topping
Directions
I start by dissolving the maple syrup and warm water in a small bowl, then I sprinkle the yeast over the top and let it sit until foamy. In a large bowl, I whisk together the gluten free flour blend, baking soda, baking powder, and sea salt. After that, I whisk in the warmed milk, vanilla extract, and melted butter until the mixture is smooth.
Once everything is combined, I stir in the yeast mixture. I cover the bowl with plastic wrap and leave it on the countertop in a cool place overnight so the batter has time to rise.
The next day, I preheat the waffle iron. After the batter has doubled or tripled in size, I stir in the eggs. I pour enough batter into the waffle iron to cover each waffle grate, usually about 1/2 to 3/4 cup depending on the size of the waffle maker, and I cook the waffles for 3 to 5 minutes until they are browned and crisp.
I like to serve them hot with butter and maple syrup on top.
Servings and Timing
I get 8 waffles from this recipe, which makes it a great option for a family breakfast or for meal prep. The prep time is 15 minutes, the cook time is 15 minutes, and the total active time is 30 minutes. Since the batter rests overnight, I also plan for that extra rising time before cooking the waffles the next morning.
Variations
I like how easy this recipe is to adapt. When I want a dairy-free version, I use almond milk or coconut milk beverage in place of the whole milk, and I add two tablespoons of sugar to replace the sweetness that whole milk naturally brings. I also swap the butter for coconut oil or avocado oil. I find that this version is still delicious, though the waffles turn out a little less crisp.
When I need an egg-free option, I simply leave out the eggs. I notice that the waffles do not hold together quite as firmly and they are a bit less crisp, but they still work well.
I also like doubling or tripling the recipe when I want to freeze extra waffles for another day. I just make sure to use a large bowl so the batter has enough room to rise overnight.
Storage/Reheating
I store leftover waffles in an airtight container in the refrigerator for up to 3 days. For longer storage, I freeze them in a single layer first, then transfer them to a freezer-safe bag or container. That keeps them from sticking together and makes it easy for me to reheat only what I need.
When I want to reheat refrigerated waffles, I use a toaster or oven so they stay crisp. If I am reheating from frozen, I usually place them straight into the toaster or warm them in a 350°F oven for several minutes until heated through and crisp again. I avoid the microwave when I want the best texture because it makes them softer.
FAQs
Can I make the batter the same day instead of overnight?
I can make it the same day, but I find that the overnight rest gives the waffles their best flavor and texture. The yeast has more time to work, which helps create a lighter and fluffier result.
Why does the batter need to sit overnight?
I let the batter sit overnight so it can rise and develop flavor. This rest is what helps the waffles become airy on the inside and crisp on the outside.
Can I refrigerate the batter overnight?
I can refrigerate the batter if needed, but I know it will not rise as much. That usually changes the texture a bit, and I find the waffles are not quite as light.
How do I know the yeast is active?
I look for the yeast mixture to become foamy after it sits in the warm water and maple syrup. If I do not see foam, I know the yeast may not be active and the batter may not rise properly.
What kind of gluten free flour blend works best?
I use a good all-purpose gluten free flour blend for this recipe. I find that a balanced blend gives the waffles structure while still keeping them tender.
Can I make these waffles dairy-free?
I can make them dairy-free by using almond milk or coconut milk beverage instead of whole milk and replacing the butter with coconut oil or avocado oil. I expect the waffles to be slightly less crisp with those swaps.
Can I make these waffles without eggs?
I can leave out the eggs if needed. The waffles still cook, but I notice they are a little softer and do not hold together quite as well.
How much batter should I use for each waffle?
I usually use about 1/2 to 3/4 cup of batter per waffle, depending on the size of my waffle iron. I aim to cover the waffle grate without overfilling it.
Can I freeze leftover waffles?
I love freezing leftovers because it makes breakfast easier later on. Once cooled, I freeze the waffles and reheat them in the toaster or oven whenever I want a quick meal.
What toppings go best with these waffles?
I like keeping it classic with butter and maple syrup. I also enjoy adding fresh fruit, a spoonful of yogurt, or even a dusting of powdered sugar when I want to dress them up a little more.
Conclusion
I keep coming back to these gluten free overnight yeast waffles because they are simple to prepare, full of flavor, and wonderfully crisp and fluffy. I love that I can mix the batter the night before and wake up to a breakfast that feels easy yet impressive. Whether I serve them fresh or freeze extras for later, this recipe always gives me a comforting and dependable result.