Why You’ll Love This Recipe
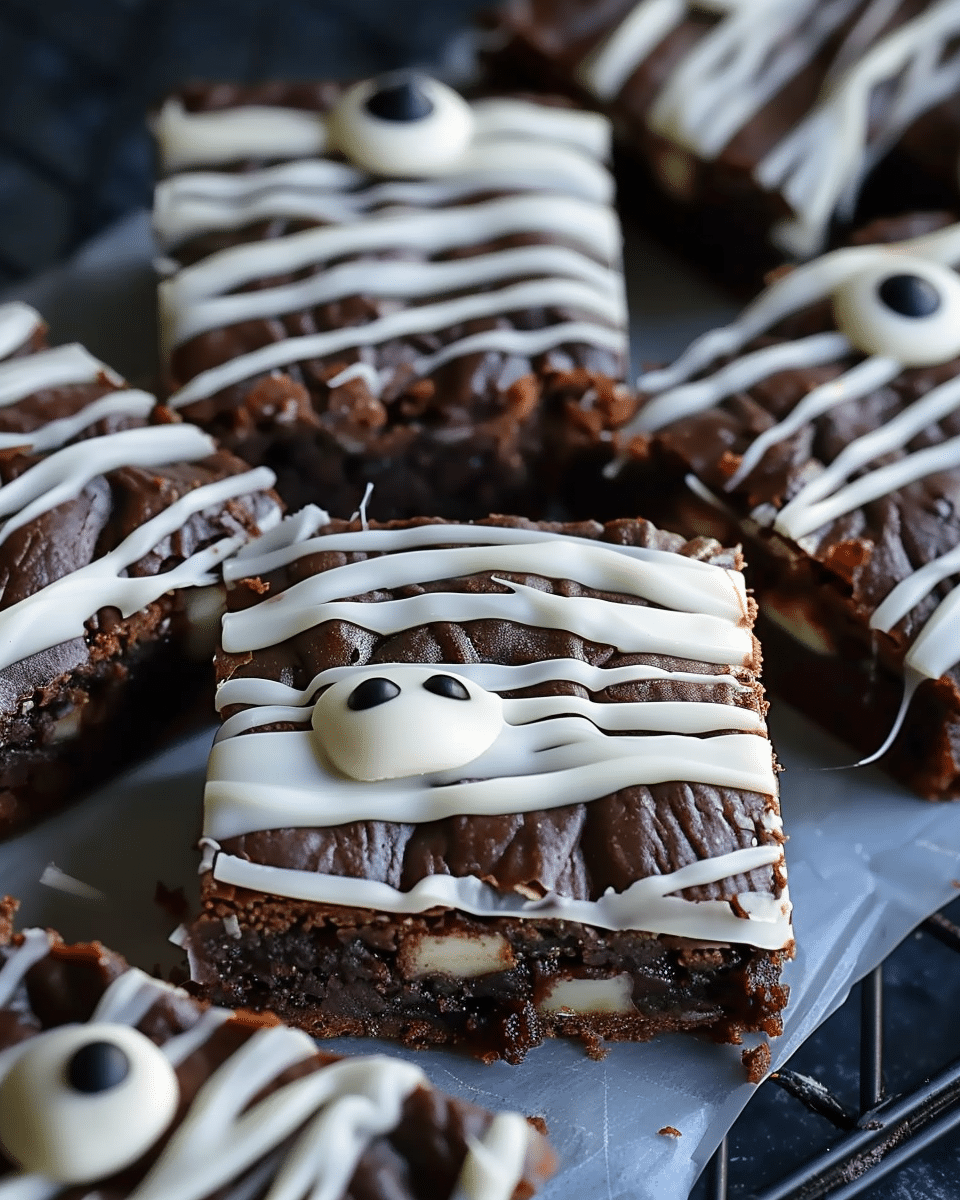
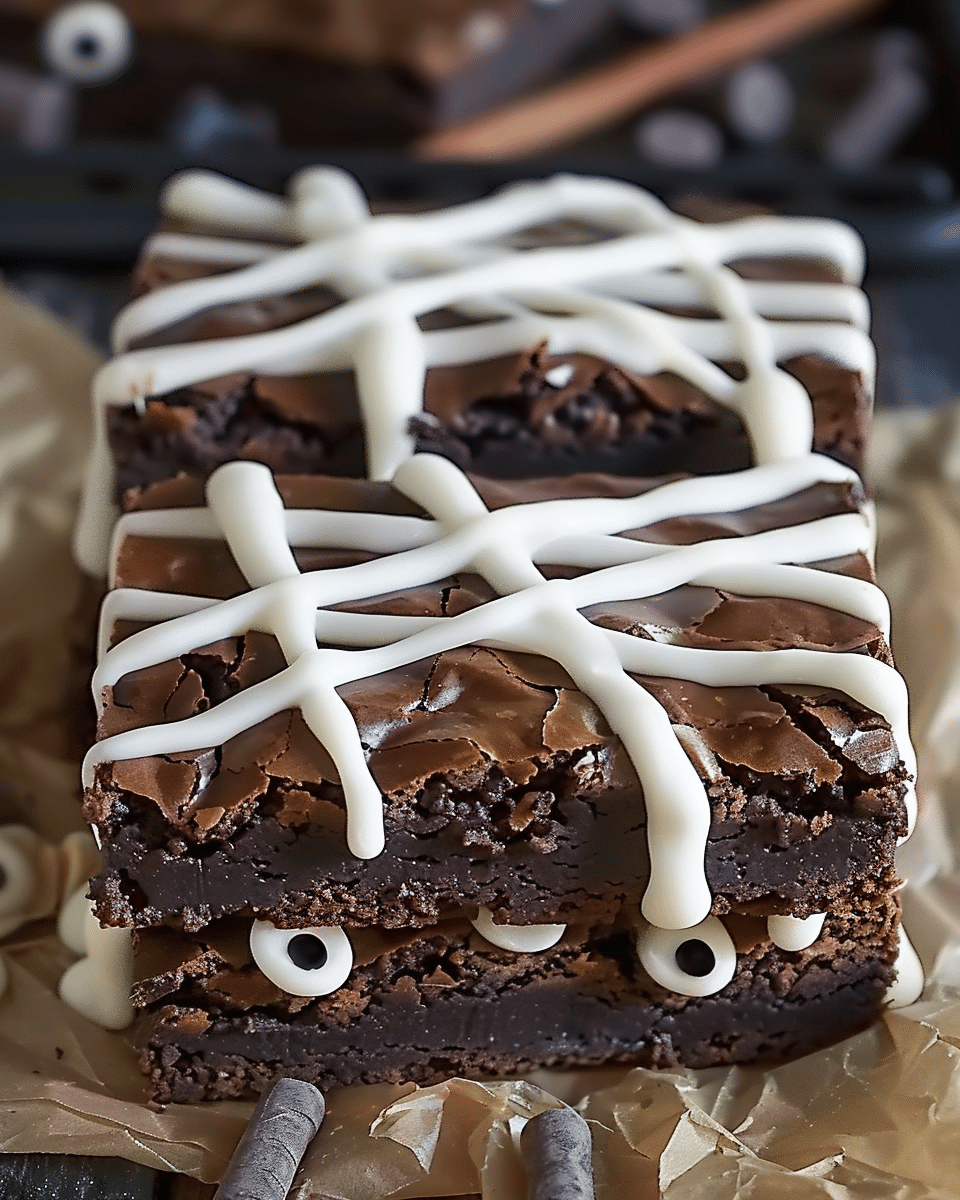
Not only do these brownies have a rich, fudgy texture that everyone loves, but they’re also decorated in a fun and easy Halloween style. The white chocolate drizzle mimics mummy bandages, and the candy eyes add a spooky touch. Plus, they’re incredibly easy to make with just a brownie mix and a few simple decorations, making them a perfect treat for busy Halloween preparations!
Ingredients
For the Brownies:
- 1 box (18.3 oz / 520g) brownie mix
- 2 large eggs
- ½ cup (120ml) vegetable oil
- 3 tablespoons (45ml) water
For the Mummy Decoration:
- 1 cup (120g) white candy melts or white chocolate chips
- 12–20 edible candy eyes
(Tip: You’ll find the full list of ingredients and measurements in the recipe card below.)

Directions
Step 1: Preheat the Oven
Preheat your oven to 325°F (163°C) or as directed on the brownie mix package. Line an 8×8 or 9×9 inch pan with parchment paper and lightly grease it for easy removal.
Step 2: Mix the Brownie Batter
In a large bowl, mix together the brownie mix, eggs, vegetable oil, and water. Stir until the batter is smooth and well-combined.
Step 3: Bake the Brownies
Pour the brownie batter into the prepared pan. Bake according to the time on the brownie mix package (usually 35-40 minutes), or until a toothpick inserted into the center comes out with moist crumbs. Allow the brownies to cool completely in the pan.
Step 4: Cut the Brownies
Once the brownies have cooled, lift them out of the pan using the parchment paper. Cut them into 12-16 squares, depending on the size you prefer.
Step 5: Melt the White Chocolate
In a microwave-safe bowl, melt the white candy melts or white chocolate chips in 30-second intervals, stirring between each, until the chocolate is smooth and completely melted.
Step 6: Decorate the Brownies
Transfer the melted chocolate to a piping bag or a zip-top bag. Snip the corner of the bag and drizzle the chocolate over the brownies in zig-zag lines to mimic mummy bandages.
Step 7: Add the Eyes
While the chocolate is still soft, gently press two candy eyes onto each brownie.
Step 8: Let the Chocolate Set
Allow the brownies to set fully before serving or packaging for parties. Let the chocolate harden completely to ensure the eyes stay in place.
Servings and Timing
- Servings: 12–16 brownies
- Prep Time: 15 minutes
- Cook Time: 25-30 minutes
- Total Time: 1 hour
Storage and Make-Ahead Instructions
- Storage: Store decorated brownies in an airtight container at room temperature for up to 3 days.
- Freezing: You can freeze the undecorated brownies for up to 2 months. Thaw them before decorating for an easy, last-minute treat!
Fun Tips and Variations
- Add some color: For a fun twist, use colored candy melts or tint the white chocolate with Halloween food coloring (like orange or purple) for a more festive look.
- Change the decoration: Instead of mummy bandages, use the white chocolate to create spider webs or other spooky designs for a different Halloween flair.
- Try different brownie mixes: Use a fudge, cakey, or gluten-free brownie mix to suit your preferences.
FAQs
1. Can I make these brownies without a brownie mix?
Yes! If you prefer homemade brownies, you can use your favorite brownie recipe in place of the store-bought mix.
2. Can I make these brownies ahead of time?
Yes, you can make the brownies a day ahead and just decorate them the day you plan to serve them. They will still be fresh and delicious!
3. Can I use regular chocolate chips instead of white chocolate?
Yes, you can! However, the white chocolate gives it a distinct mummy look. If you use regular chocolate chips, you can create a different Halloween decoration, like a creepy spider web.
4. Can I add other decorations to the brownies?
Absolutely! Feel free to add sprinkles, edible glitter, or candy corn to give your brownies an extra festive touch.
5. How do I store these brownies for longer freshness?
For longer freshness, store your brownies in an airtight container at room temperature. They can stay fresh for up to 3 days, but you can also refrigerate them if you want to extend their shelf life.
Conclusion
These Spooky Mummy Brownies are the ultimate Halloween treat—fudgy, flavorful, and perfectly decorated to get everyone in the Halloween spirit! Easy to make and guaranteed to impress, they’re a must-have for your next Halloween party or as a sweet surprise for your friends and family. Enjoy the spooky fun and delicious flavor!
Spooky Mummy Brownies – The Perfect Halloween Party Treat
These Spooky Mummy Brownies are the ultimate Halloween treat, offering fudgy, delicious brownies decorated with white chocolate bandages and spooky candy eyes. They’re fun, easy to make, and perfect for any Halloween gathering.
- Prep Time: 15 minutes
- Cook Time: 25-30 minutes
- Total Time: 1 hour
- Yield: 12-16 brownies
- Category: Dessert
- Method: Baking
- Cuisine: American
- Diet: Vegetarian
Ingredients
1 box (18.3 oz / 520g) brownie mix
2 large eggs
½ cup (120ml) vegetable oil
3 tablespoons (45ml) water
1 cup (120g) white candy melts or white chocolate chips
12–20 edible candy eyes
Instructions
- Preheat the Oven: Preheat your oven to 325°F (163°C) or as directed on the brownie mix package. Line an 8×8 or 9×9 inch pan with parchment paper and lightly grease it.
- Mix the Brownie Batter: In a large bowl, mix together the brownie mix, eggs, vegetable oil, and water. Stir until smooth and well-combined.
- Bake the Brownies: Pour the brownie batter into the prepared pan and bake according to the time on the brownie mix package (usually 35-40 minutes). Allow them to cool completely in the pan.
- Cut the Brownies: Once cooled, lift the brownies out using the parchment paper and cut them into 12-16 squares.
- Melt the White Chocolate: In a microwave-safe bowl, melt the white candy melts or chocolate chips in 30-second intervals, stirring between each, until smooth.
- Decorate the Brownies: Transfer the melted chocolate to a piping bag or zip-top bag. Snip the corner and drizzle over the brownies in zig-zag lines to mimic mummy bandages.
- Add the Eyes: While the chocolate is soft, gently press two candy eyes onto each brownie.
- Let the Chocolate Set: Let the brownies set for about 30 minutes or until the chocolate has hardened completely.
Notes
For a fun twist, you can use colored candy melts or tint the white chocolate with Halloween food coloring like orange or purple.
Feel free to add extra festive touches like sprinkles or candy corn for added decoration.
Nutrition
- Serving Size: 1 brownie
- Calories: 200
- Sugar: 20g
- Sodium: 80mg
- Fat: 10g
- Saturated Fat: 4g
- Unsaturated Fat: 6g
- Trans Fat: 0g
- Carbohydrates: 28g
- Fiber: 1g
- Protein: 2g
- Cholesterol: 40mg


