Why You’ll Love Vanilla Wafer Banana Pudding Bars Recipe
I enjoy how simple and approachable this recipe is, especially since it doesn’t require baking. The texture turns out incredibly smooth and creamy, while the crust adds just enough firmness to hold everything together. I also like how it’s perfect for gatherings because I can make it ahead of time and serve clean, neat slices straight from the fridge. The banana flavor stays comforting and familiar, but the presentation feels a little more special.
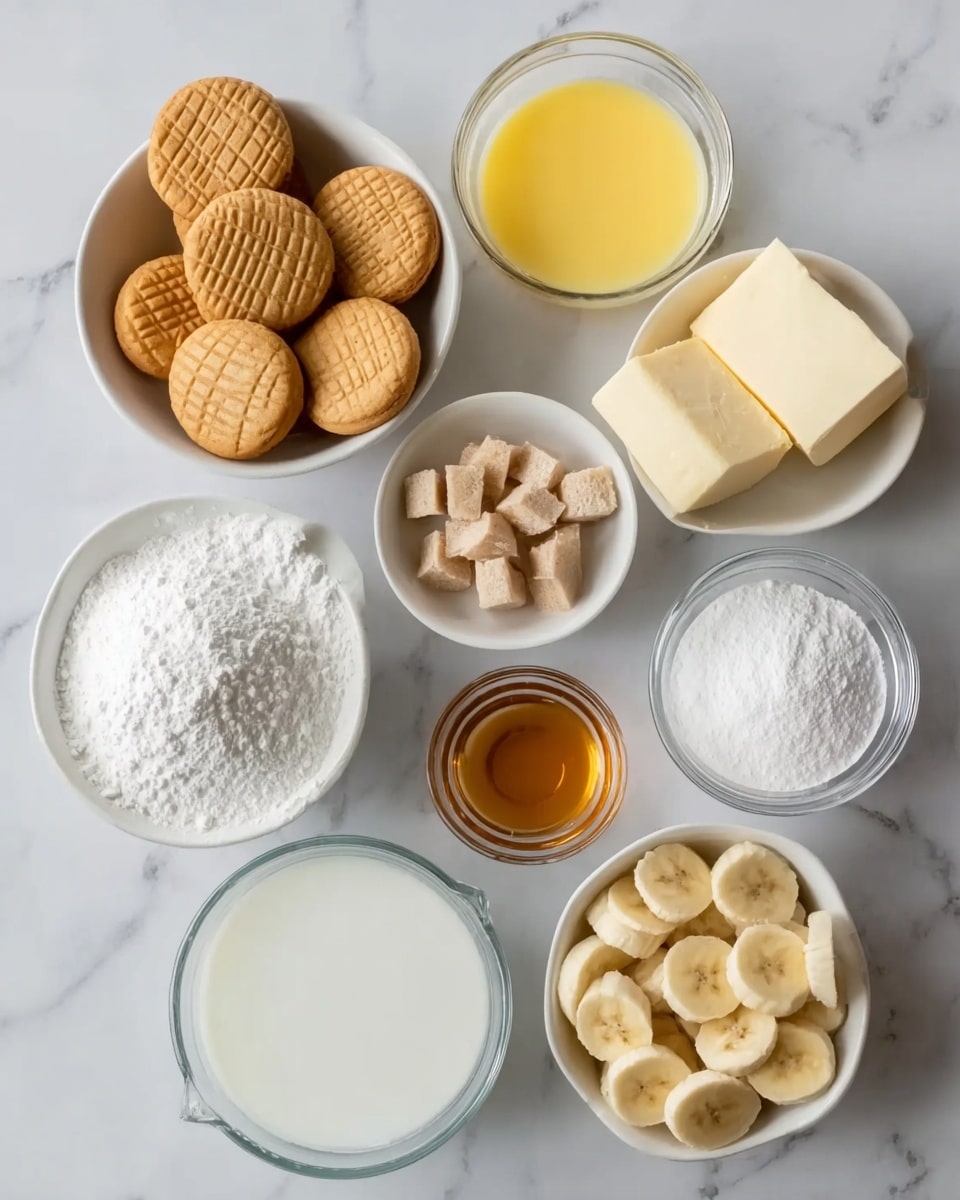
Ingredients
(Note: All ingredient amounts are listed in the recipe card below.)
For the crust 2 cups crushed vanilla wafer cookies 1/2 cup unsalted butter, melted 2 tablespoons granulated sugar
FOR THE BANANA PUDDING LAYER 1 (5 oz) box instant vanilla pudding mix 2 cups cold milk 1 cup heavy whipping cream 1/2 cup powdered sugar 1 teaspoon vanilla extract 2 ripe bananas, sliced
FOR THE TOPPING 1 1/2 cups whipped cream (fresh or store-bought) 1–2 bananas, sliced for garnish
Directions
I start by preparing the crust, combining the crushed vanilla wafer cookies, melted butter, and sugar in a bowl until the mixture resembles wet sand. I press it firmly into a lined 8×8-inch baking dish and refrigerate it for at least 20 minutes until it sets.
Next, I whisk the instant vanilla pudding mix with cold milk for about 2 to 3 minutes until it thickens, then let it sit briefly to firm up more.
In a separate bowl, I beat the heavy whipping cream, powdered sugar, and vanilla extract until soft peaks form, creating a light and airy texture.
I gently fold the whipped cream into the pudding mixture until smooth and mousse-like. Then I spread half of this mixture over the chilled crust, layer the sliced bananas evenly, and spread the remaining pudding mixture on top, smoothing it out carefully.
I refrigerate the assembled bars for at least 4 hours or overnight so everything sets properly and slices cleanly.
Before serving, I spread whipped cream on top, garnish with fresh banana slices, and cut into squares. I always serve them chilled for the best texture and flavor.
Servings and Timing
I typically get about 9 squares from an 8×8-inch pan. The prep time takes around 25 minutes, with an additional chilling time of about 6 hours, bringing the total time to approximately 6 hours and 25 minutes.
Variations
I sometimes add a layer of crushed wafers between the pudding layers for extra texture. When I want a richer flavor, I mix a bit of cream cheese into the filling. I also like drizzling caramel on top for a dessert that feels more indulgent. Occasionally, I swap the vanilla pudding for banana-flavored pudding to enhance the banana taste even more.
Storage/Reheating
I store these bars in an airtight container in the refrigerator for up to 3 days. I keep them chilled until serving since they hold their shape best when cold. I don’t reheat this dessert because it’s meant to be enjoyed chilled and creamy.
FAQs
Can I make these bars ahead of time?
I usually make them the day before because they set better overnight.
How do I keep the bananas from browning?
I lightly toss the slices in lemon juice if I’m preparing them ahead.
Can I use store-bought whipped topping?
I sometimes use it for convenience, and it works well.
What size pan should I use?
I use an 8×8-inch baking dish for the best thickness.
Can I freeze banana pudding bars?
I don’t recommend freezing because the texture of the bananas changes.
Can I use homemade pudding instead?
I can, but I make sure it’s thick enough to hold the layers.
How do I get clean slices?
I chill the bars thoroughly and use a sharp knife wiped clean between cuts.
Can I add other fruits?
I sometimes add strawberries for a different flavor twist.
What if my filling is too soft?
I let it chill longer so it firms up properly.
Can I make this recipe dairy-free?
I can substitute dairy-free milk and whipped alternatives, though the texture may vary.
Conclusion
I find these vanilla wafer banana pudding bars to be the perfect no-bake dessert when I want something creamy, nostalgic, and easy to serve. The layered texture, fresh banana flavor, and smooth finish make them a favorite whenever I need a dessert that looks great and tastes even better.
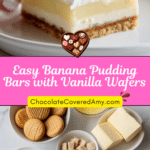
Creamy, no-bake banana pudding bars with a buttery vanilla wafer crust and fluffy whipped topping. These layered treats are nostalgic, smooth, and perfect for easy slicing and sharing.
Author:Amy
Prep Time:25 minutes
Cook Time:0 minutes
Total Time:6 hours 25 minutes
Yield:9 bars
Category:Dessert
Method:No-Bake
Cuisine:American
Diet:Vegetarian
Ingredients
2 cups crushed vanilla wafer cookies
1/2 cup unsalted butter, melted
2 tablespoons granulated sugar
1 (5 oz) box instant vanilla pudding mix
2 cups cold milk
1 cup heavy whipping cream
1/2 cup powdered sugar
1 teaspoon vanilla extract
2 ripe bananas, sliced
1 1/2 cups whipped cream
1–2 bananas, sliced for garnish
Instructions
In a bowl, combine crushed vanilla wafer cookies, melted butter, and sugar until the mixture resembles wet sand. Press firmly into a lined 8×8-inch pan and refrigerate for at least 20 minutes.
Whisk instant pudding mix with cold milk for 2–3 minutes until thickened, then let it sit briefly.
In a separate bowl, beat heavy whipping cream, powdered sugar, and vanilla extract until soft peaks form.
Fold the whipped cream into the pudding mixture until smooth and mousse-like.
Spread half of the pudding mixture over the chilled crust.
Layer sliced bananas evenly over the pudding.
Spread the remaining pudding mixture on top and smooth evenly.
Refrigerate for at least 4 hours or overnight until fully set.
Before serving, spread whipped cream on top and garnish with banana slices.
Slice into squares and serve chilled.
Notes
Toss banana slices in a little lemon juice to prevent browning.
For extra texture, add a layer of crushed wafers between pudding layers.
Caramel drizzle adds a richer flavor variation.
Store in the refrigerator for up to 3 days.
Use a sharp knife and wipe clean between cuts for neat slices.


