I appreciate how incredibly simple this recipe is, requiring only a handful of ingredients and very little preparation time. I can prepare it in about five minutes, making it perfect when I need a quick dessert base. I also like that it creates a sturdy crust with a delicious chocolate flavor that pairs well with classic cheesecakes, no-bake desserts, and flavored fillings. I find it easy to customize with different Oreo varieties for endless possibilities.
Ingredients
(Note: All ingredient amounts are listed in the recipe card below.)
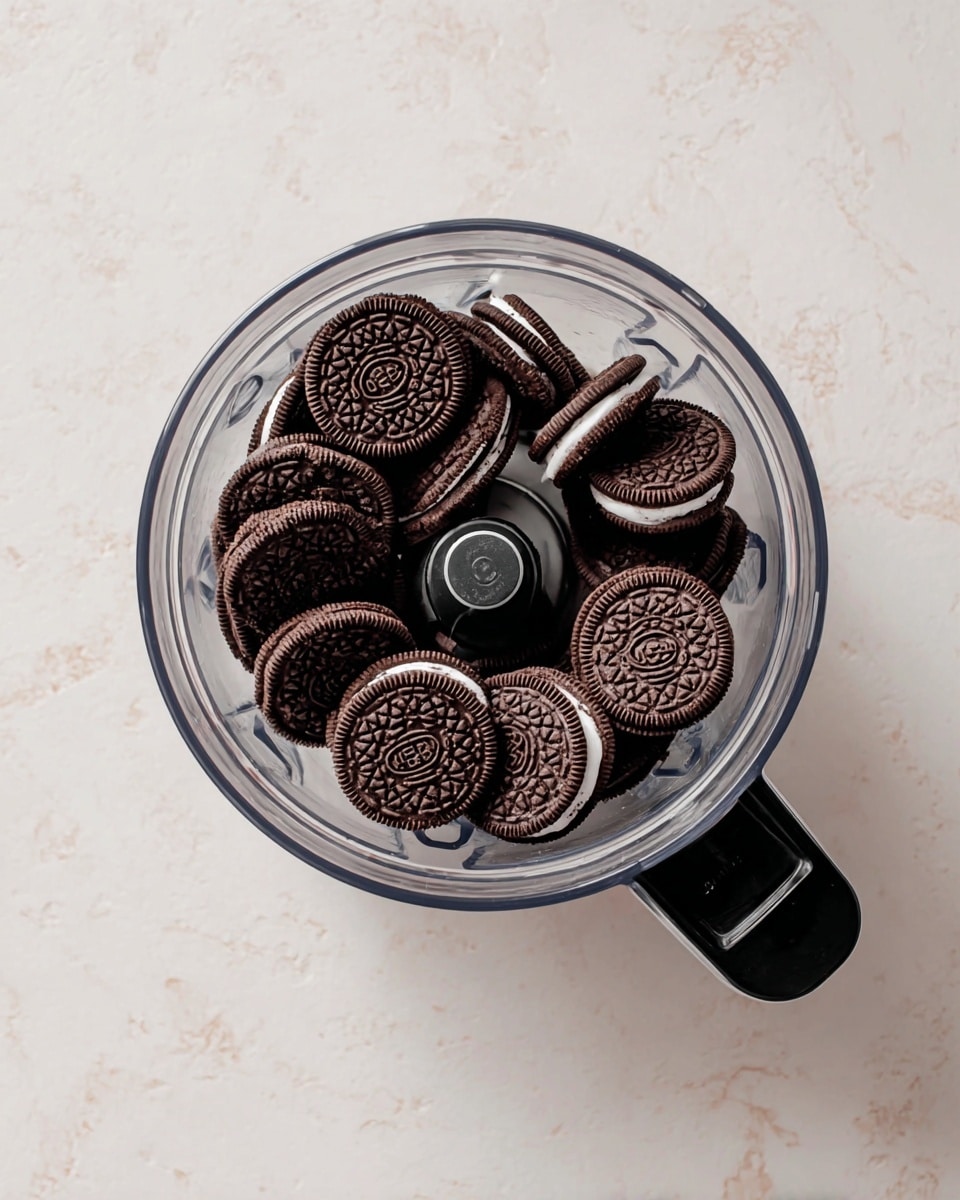
25 Oreos
4 tablespoons unsalted butter, melted
pinch of salt (optional)
Directions
I add the Oreos to a food processor and pulse them about 5 to 7 times until they become large crumbs.
I keep the food processor running while slowly drizzling in the melted butter.
I add a pinch of salt if I am using an especially sweet Oreo flavor or if I want to slightly balance the sweetness.
I pour the prepared cookie crumbs into my cheesecake pan.
I press the crumbs firmly into the sides of the pan first to create an even border.
I continue pressing the remaining crumbs into the edges and bottom until the crust is compact and uniform.
I use the crust immediately with my cheesecake filling or chill it briefly before assembling my dessert if desired.
Servings and Timing
Yield: 1 cheesecake crust
Prep Time: 5 minutes
Total Time: 5 minutes
Cook Time: 0 minutes
Serves: Approximately 10 to 12 slices when used for a standard 9-inch cheesecake
Variations
I sometimes use Golden Oreos for a lighter vanilla-flavored crust that works beautifully with fruit cheesecakes. I also enjoy trying mint, peanut butter, or chocolate crème Oreos for unique flavor combinations. When I want extra richness, I mix in a tablespoon of cocoa powder. For an added crunch, I occasionally stir in finely chopped toasted nuts before pressing the crust into the pan.
Storage/Reheating
I store any prepared crust covered in the refrigerator for up to 5 days before filling it. If I need to make it well ahead of time, I wrap it tightly and freeze it for up to 3 months. I thaw it in the refrigerator before using. Since this crust is not meant to be reheated on its own, I simply use it directly from the refrigerator or after thawing.
FAQs
Can I make this crust without a food processor?
I can place the Oreos in a sealed plastic bag and crush them with a rolling pin until fine before mixing with the melted butter.
Do I need to remove the Oreo filling?
I leave the filling inside because it helps create flavor and contributes to the texture of the finished crust.
Can I use salted butter instead of unsalted?
I can use salted butter, but I usually skip the optional pinch of salt to avoid making the crust too salty.
Why should I press the sides first?
I find that pressing the sides first helps distribute the crumbs evenly and prevents using too much on the bottom.
Do I need to bake this crust?
I can use it as-is for many no-bake cheesecakes, or bake it briefly if my cheesecake recipe recommends it.
Can I freeze the finished crust?
I freeze it tightly wrapped for up to 3 months and thaw it in the refrigerator before adding the filling.
What size pan does this recipe fit?
I typically use it for a standard 9-inch cheesecake pan with excellent results.
Can I use flavored Oreos?
I enjoy experimenting with flavored Oreos, and I sometimes add the optional pinch of salt when using especially sweet varieties.
How do I know if I added enough butter?
I look for crumbs that hold together when squeezed but are not greasy or wet.
Can I use this crust for other desserts?
I love using it for pies, bars, no-bake desserts, mousse cakes, and even layered parfait-style treats.
Conclusion
I keep this Oreo cheesecake crust recipe on hand because it is fast, dependable, and consistently delicious. I appreciate its simple ingredients, easy preparation, and versatility, making it one of my favorite foundations for both baked and no-bake desserts. Whether I stick with classic Oreos or experiment with fun flavors, I always end up with a crisp, flavorful crust that enhances every bite.
This easy Oreo cheesecake crust comes together in just minutes with crushed Oreos and melted butter for a rich, chocolatey base that pairs perfectly with baked or no-bake cheesecakes and other desserts.
Author:Amy
Prep Time:5 minutes
Cook Time:0 minutes
Total Time:5 minutes
Yield:1 cheesecake crust (10-12 slices)
Category:Dessert
Method:No Bake
Cuisine:American
Diet:Vegetarian
Ingredients
25 Oreos
4 tablespoons unsalted butter, melted
Pinch of salt (optional)
Instructions
Add the Oreos to a food processor and pulse 5 to 7 times until they become large crumbs.
With the food processor running, slowly drizzle in the melted butter until evenly combined.
Add a pinch of salt if desired, especially when using a sweeter Oreo variety.
Pour the prepared cookie crumb mixture into a 9-inch cheesecake pan.
Press the crumbs firmly into the sides of the pan first to create an even border.
Press the remaining crumbs evenly across the bottom until the crust is compact and uniform.
Use immediately with your cheesecake filling or chill briefly before assembling your dessert.
Notes
Golden, mint, peanut butter, or chocolate crème Oreos can be substituted for different flavor variations.
Mix in 1 tablespoon of cocoa powder for an extra chocolate-rich crust.
Stir in finely chopped toasted nuts for added crunch if desired.
Store covered in the refrigerator for up to 5 days before filling.
Freeze tightly wrapped for up to 3 months and thaw in the refrigerator before use.
If you do not have a food processor, crush the cookies in a sealed bag with a rolling pin before mixing with butter.
Leave the Oreo filling intact for the best texture and flavor.
This crust works well for cheesecakes, pies, bars, mousse cakes, and no-bake desserts.


