Why You’ll Love This Recipe
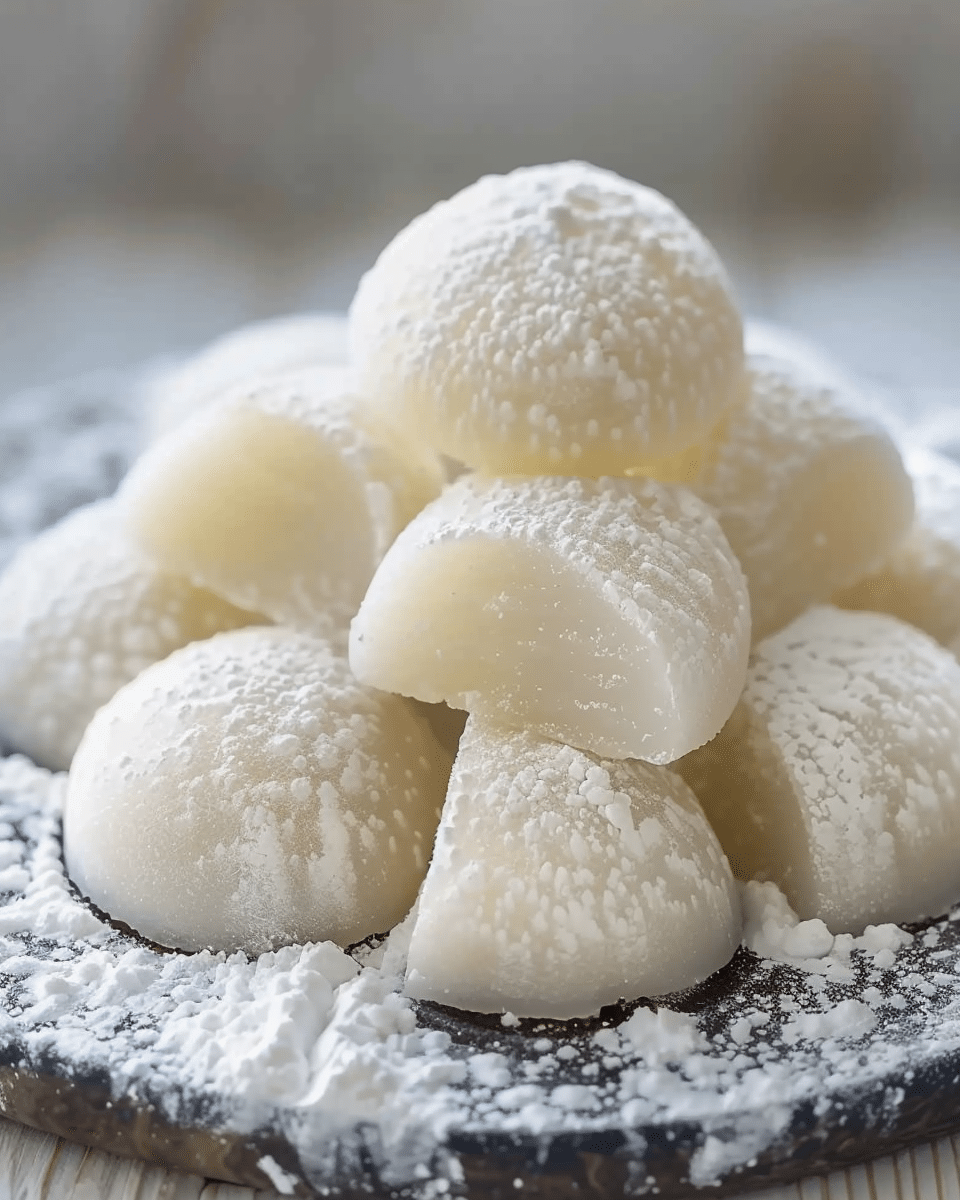
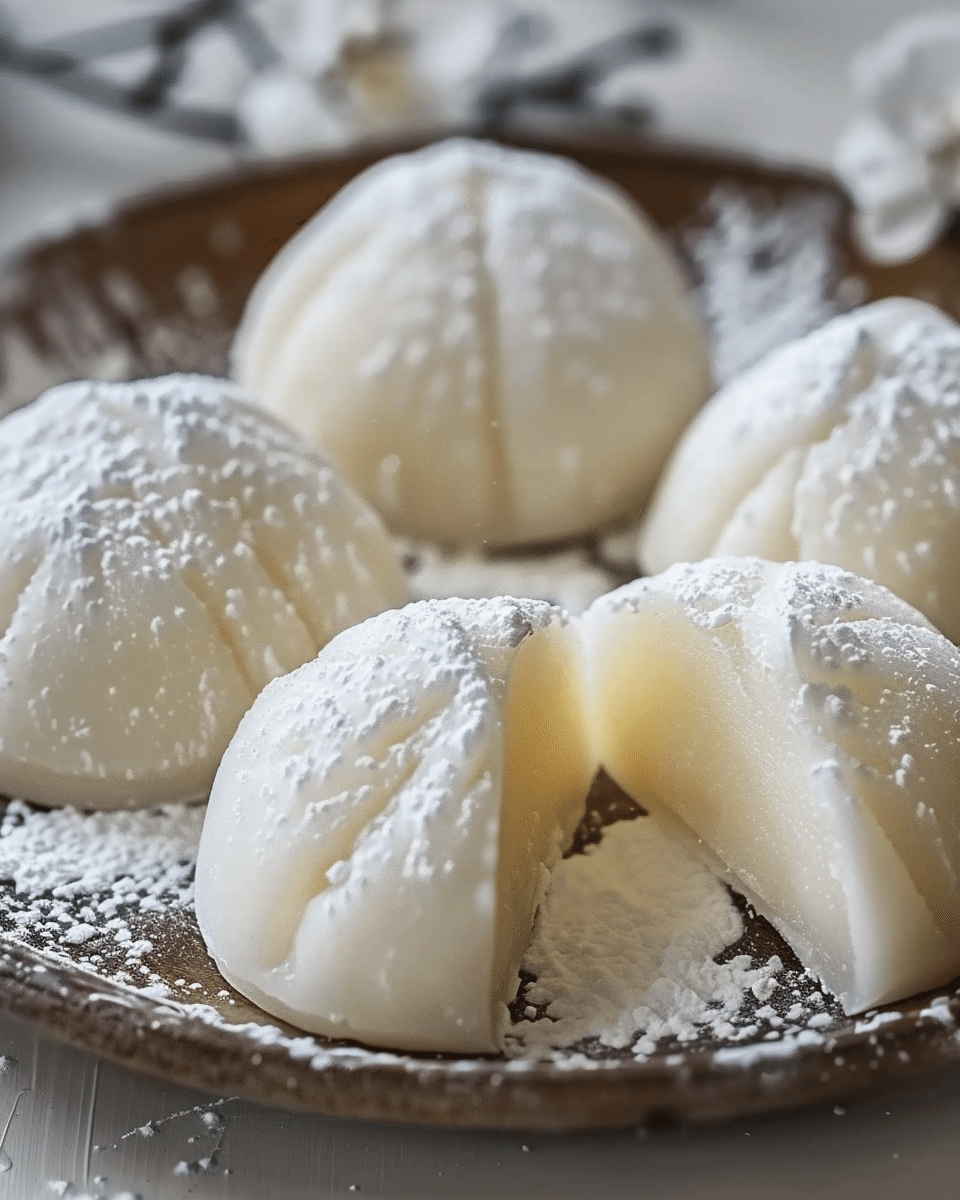
Milk mochi offers a unique combination of creamy milk and chewy, sticky rice flour. This variation is easier to prepare compared to traditional mochi-making methods, thanks to the pan-frying technique that eliminates the need for steaming. It’s also incredibly versatile, with the option to shape it into triangles or other fun shapes. Coated in roasted soybean flour, the final result is a satisfyingly sweet and chewy treat that pairs wonderfully with tea or as a quick snack.
Ingredients
- 150g glutinous rice flour
- 30g cornstarch
- 25g sugar
- 20g corn oil
- 290g whole milk
(Tip: You’ll find the full list of ingredients and measurements in the recipe card below.)
Directions
- Combine the Ingredients:
In a large bowl, combine the glutinous rice flour, cornstarch, sugar, corn oil, and whole milk. Stir until everything is well mixed and smooth. - Cook the Mixture:
Strain the mixture (optional) to ensure there are no lumps, then pour it into a non-stick pan. Cook over low heat, stirring slowly and continuously. The mixture will thicken and form a cohesive mass. Keep stirring until the mixture is fully cooked through. - Cool and Knead:
Remove the mixture from the pan and allow it to cool to room temperature. Once it has cooled, wear gloves and knead the dough for about 5 minutes until it becomes elastic and smooth. - Shape the Dough:
Roll the dough into a long strip. Sprinkle some cooked glutinous rice flour on the surface to prevent sticking. Cut the dough into triangular shapes or any shape you prefer. - Coat with Roasted Soybean Flour:
Finally, coat the pieces with roasted soybean flour for a traditional touch. This step adds a subtle nutty flavor and helps prevent the pieces from sticking.
Servings and Timing
- Servings: This recipe yields approximately 12-16 pieces, depending on the size you cut them.
- Prep Time: 15 minutes
- Cook Time: 15-20 minutes
- Total Time: 35 minutes
Variations
- Flavor Add-ins: Mix in some matcha powder for a green tea flavor, or a small amount of cocoa powder for a chocolate twist.
- Toppings: Instead of roasted soybean flour, you can roll the mochi in shredded coconut or finely ground almonds for a different texture.
- Add Fruit: Incorporate small pieces of fresh fruit such as strawberries or mango into the dough for a fruity twist.
- Vegan Option: Use plant-based milk and substitute the corn oil with a vegan-friendly oil like coconut oil for a dairy-free and vegan version.
Storage/Reheating
- Storage: Store the milk mochi in an airtight container at room temperature for up to 2-3 days. Keep the pieces separated with parchment paper if necessary.
- Refrigeration: If you plan to keep the mochi for a longer time, refrigerate it for up to 1 week.
- Reheating: If the mochi becomes too firm, you can soften it by microwaving it for a few seconds.
FAQs
Can I use other types of milk for this recipe?
Yes, you can substitute whole milk with any plant-based milk such as almond milk or coconut milk for a dairy-free option.
Can I make this recipe without cornstarch?
The cornstarch helps to improve the texture and consistency of the mochi. If you don’t have it, you can try substituting with potato starch or arrowroot powder.
Can I freeze milk mochi?
Yes, you can freeze milk mochi for up to a month. Just make sure to wrap the pieces in plastic wrap or store them in a freezer-safe container. Thaw at room temperature before serving.
Can I add other fillings inside the mochi?
Yes! You can add small pieces of sweet red bean paste or chocolate chips in the center for a fun surprise inside the mochi.
How do I know when the mochi is fully cooked?
The mochi mixture is ready when it has thickened into a cohesive mass and no longer sticks to the sides of the pan. Make sure to stir it continuously to avoid burning.
Can I make this recipe without the roasted soybean flour?
Yes, you can skip the roasted soybean flour and simply coat the mochi in cornstarch or powdered sugar, or serve it without any coating.
How do I shape the dough into perfect pieces?
To make the dough easier to handle, sprinkle a bit of glutinous rice flour on your work surface to prevent sticking. You can shape the dough into whatever shape you prefer, whether it’s squares, triangles, or even round balls.
Can I add flavoring to the dough?
Yes, you can add flavoring like vanilla, almond extract, or citrus zest to the dough to customize it to your taste.
Can I use regular rice flour instead of glutinous rice flour?
Glutinous rice flour is essential for the chewy texture of the mochi. Regular rice flour will not yield the same chewy consistency, so it’s best to use glutinous rice flour for this recipe.
How do I store leftover milk mochi?
Store leftover mochi in an airtight container. If the mochi feels too hard, try microwaving it for a few seconds to soften it.
Conclusion
Milk mochi is a wonderfully simple yet flavorful dessert that combines the soft, chewy texture of glutinous rice flour with the creamy sweetness of milk. This recipe is incredibly easy to make, even for beginners, and results in a treat that’s both satisfying and versatile. Customize it with your favorite fillings or toppings, and enjoy the chewy, sweet goodness anytime you need a quick snack or dessert.
Milk Mochi
Milk mochi is a simple yet delicious Japanese-inspired dessert made with glutinous rice flour and milk, offering a chewy texture and creamy flavor. This easy pan-fried recipe is perfect for a sweet snack or dessert.
- Prep Time: 15 minutes
- Cook Time: 15-20 minutes
- Total Time: 35 minutes
- Yield: 12-16 pieces
- Category: Dessert
- Method: Pan-frying
- Cuisine: Japanese
- Diet: Vegan
Ingredients
150g glutinous rice flour
30g cornstarch
25g sugar
20g corn oil
290g whole milk
Instructions
- Combine the Ingredients: In a large bowl, combine the glutinous rice flour, cornstarch, sugar, corn oil, and whole milk. Stir until everything is well mixed and smooth.
- Cook the Mixture: Strain the mixture (optional) to ensure there are no lumps, then pour it into a non-stick pan. Cook over low heat, stirring slowly and continuously. The mixture will thicken and form a cohesive mass. Keep stirring until the mixture is fully cooked through.
- Cool and Knead: Remove the mixture from the pan and allow it to cool to room temperature. Once it has cooled, wear gloves and knead the dough for about 5 minutes until it becomes elastic and smooth.
- Shape the Dough: Roll the dough into a long strip. Sprinkle some cooked glutinous rice flour on the surface to prevent sticking. Cut the dough into triangular shapes or any shape you prefer.
- Coat with Roasted Soybean Flour: Finally, coat the pieces with roasted soybean flour for a traditional touch. This step adds a subtle nutty flavor and helps prevent the pieces from sticking.
Notes
For a vegan option, use plant-based milk and substitute the corn oil with coconut oil.
Instead of roasted soybean flour, try coating the mochi in shredded coconut or finely ground almonds for a different texture.
Feel free to add flavoring like matcha or cocoa powder for a different twist.
Nutrition
- Serving Size: 1 piece
- Calories: 80
- Sugar: 6g
- Sodium: 15mg
- Fat: 3g
- Saturated Fat: 0g
- Unsaturated Fat: 3g
- Trans Fat: 0g
- Carbohydrates: 12g
- Fiber: 1g
- Protein: 1g
- Cholesterol: 0mg


