

Why You’ll Love These Crunch Bars
If you’re a texture lover, these bars are your dream treat. Here’s why:
- Satisfying Crunch: The crispy rice cereal gives each bite a satisfying crunch.
- Smooth & Creamy: The peanut butter and melted chocolate create a rich, creamy base.
- Natural Sweetness: Maple syrup adds sweetness without refined sugars.
- Vegan & Gluten-Free: Suitable for a variety of dietary needs.
- Customizable: Can easily be adapted to fit keto, paleo, or any other diet.
Unlike traditional crunch bars that use just chocolate and rice cereal, this version adds peanut butter and maple syrup to elevate the flavor and texture.
Ingredients You’ll Need
Here’s everything you need to make the best homemade crunch bars:
- Crispy Rice Cereal: Make sure it’s gluten-free if necessary. You can also use cornflakes for a twist.
- Peanut Butter: Crunchy peanut butter adds texture, but smooth works too. For a nut-free option, use sunflower seed butter or soy nut butter.
- Chocolate Chips: Use high-quality chocolate for the best taste. Vegan or sugar-free chocolate chips work perfectly too.
- Maple Syrup: Adds natural sweetness and helps bind the bars together. You can use sugar-free maple syrup if preferred.
- Coconut Oil: Helps create a smooth texture and firm up the bars. You can substitute with vegan butter or regular butter if needed.

How to Make Homemade Crunch Bars
Step 1: Prep Your Dish
Line an 8×8-inch square baking dish with parchment paper for easy removal later.
Step 2: Mix the Chocolate Base
In a microwave-safe bowl or small saucepan, combine the chocolate chips, peanut butter, maple syrup, and coconut oil. Heat gently until melted, stirring until smooth and silky.
Step 3: Combine with Cereal
Pour the crispy rice cereal into a large bowl, then pour the melted chocolate mixture over it. Stir everything together until the cereal is evenly coated with the chocolate.
Step 4: Chill
Transfer the mixture into the prepared pan and press it down evenly. Refrigerate for at least 1 hour or until firm. Once chilled, slice into bars and enjoy!
Storage Tips
- At Room Temperature: Store in an airtight container for up to 2 weeks (though they’ll likely be gone much sooner!).
- Freezer-Friendly: Wrap individual bars in parchment paper and place in a freezer-safe bag. Store for up to 6 months—perfect for satisfying chocolate cravings whenever you need!
Paleo or Keto-Friendly Option
To make these bars keto-friendly, swap the maple syrup for a low-carb sweetener like stevia, erythritol, or monk fruit. For a paleo version, ensure the chocolate chips are dairy-free and use maple syrup as the sweetener.
Craving More Candy Bar Copycats?
If you loved these homemade crunch bars, you might also enjoy other candy-inspired treats like Homemade Snickers Bars or Chocolate Coconut Bounty Bars. Both are easy to make, full of flavor, and healthier than store-bought options.
FAQs
1. Can I use a different type of nut butter instead of peanut butter?
Yes! Almond butter, cashew butter, or sunflower seed butter (for a nut-free option) all work great in place of peanut butter.
2. Can I use a different sweetener instead of maple syrup?
Yes, you can substitute the maple syrup with agave syrup, honey (if not vegan), or a low-carb sweetener like stevia or monk fruit if you’re on a keto or sugar-free diet.
3. Can I make these bars without coconut oil?
Coconut oil helps the bars firm up and provides a smooth texture. If you don’t have it, you can use vegan butter or regular butter instead. The texture may vary, but they’ll still taste great.
4. Can I use another type of cereal instead of crispy rice cereal?
Absolutely! You can substitute with cornflakes, quinoa puffs, or even gluten-free oats for a different texture. Make sure the cereal is crispy to maintain that satisfying crunch.
5. How long do these homemade crunch bars stay fresh?
Store them at room temperature for up to 2 weeks in an airtight container. You can refrigerate them for a bit longer or freeze them for up to 6 months.
6. Can I make these bars without using chocolate chips?
Yes, you can melt a high-quality chocolate bar instead of chocolate chips. Just make sure the chocolate is of good quality for the best flavor.
7. Can I use a different type of chocolate?
Yes! Dark chocolate, milk chocolate, or even white chocolate will all work in this recipe. For a vegan version, ensure you’re using dairy-free chocolate.
8. Can I make these bars without maple syrup?
If you don’t have maple syrup or prefer a different sweetener, use honey (if not vegan), agave syrup, or a sugar-free sweetener like stevia or erythritol for a keto version.
9. Can I add extra ingredients like dried fruit or nuts?
Definitely! Dried fruit like raisins, cranberries, or nuts like almonds, cashews, or walnuts can be added to the bars for more flavor and texture. Just be sure not to overload the mixture so it holds together.
10. Can I make these bars ahead of time?
Yes! These bars are perfect for making ahead of time. Refrigerate them the night before, or freeze them for longer storage. Once set, slice them and they’re ready to serve.
Conclusion
These Homemade Crunch Bars are the ultimate no-bake dessert: simple, decadent, and healthier than their store-bought counterparts. The perfect balance of chocolate, peanut butter, and crispy cereal makes these bars the ideal treat for satisfying your sweet tooth. Make a batch today and enjoy a homemade candy bar that’s sure to become your new favorite!
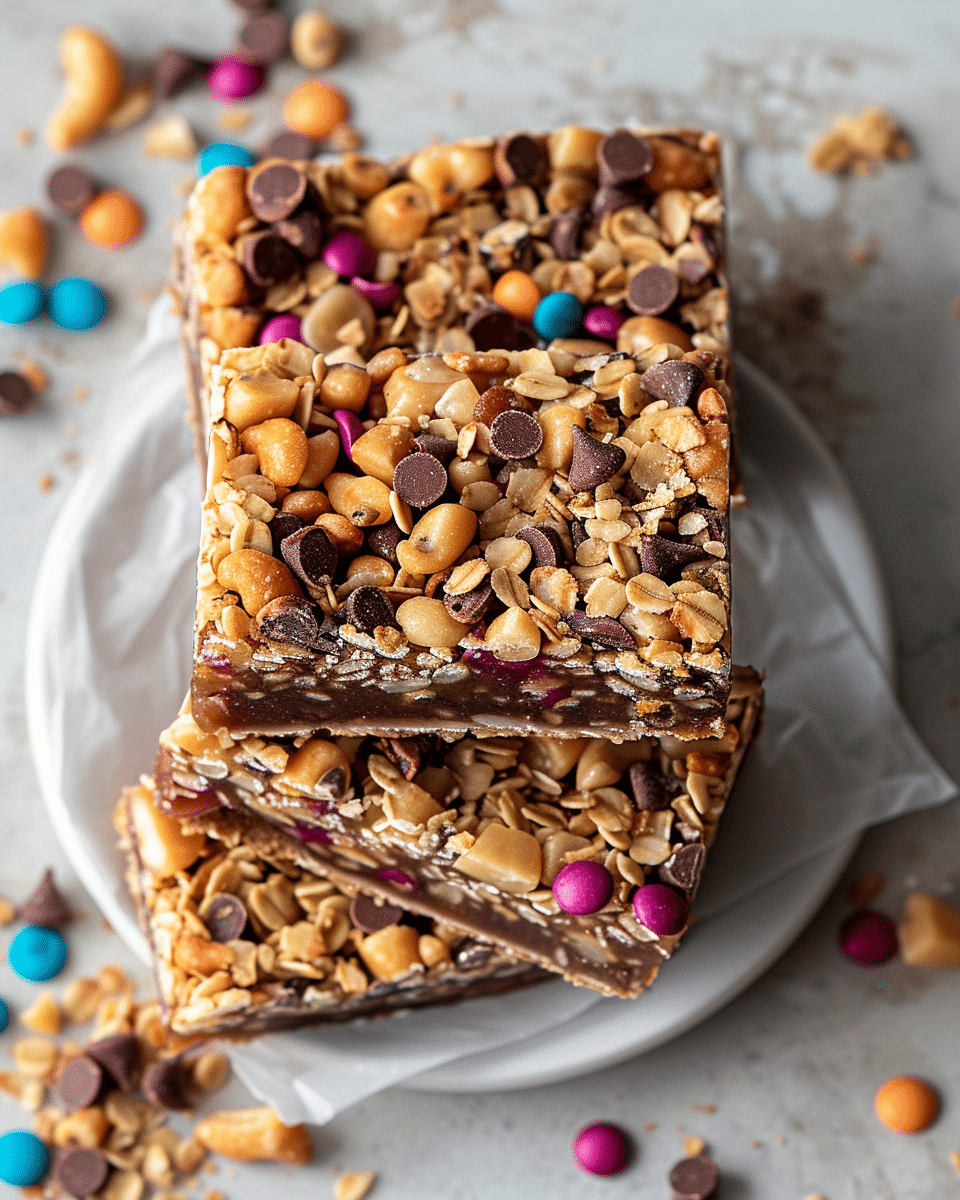
The BEST Homemade Crunch Bars

These Homemade Crunch Bars are a simple, no-bake treat with a perfect balance of crispy rice cereal, smooth peanut butter, and rich chocolate. Vegan, gluten-free, and easily customizable, these bars are quick to prepare and a healthier alternative to store-bought options.
- Prep Time: 10 minutes
- Cook Time: 0 minutes
- Total Time: 1 hour 10 minutes
- Yield: undefined
- Category: Dessert
- Method: No-Bake
- Cuisine: American
Ingredients
3 cups crispy rice cereal (gluten-free if needed)
1/2 cup peanut butter (smooth or crunchy)
1 cup chocolate chips (vegan or sugar-free if preferred)
1/4 cup maple syrup (sugar-free maple syrup for a healthier option)
2 tablespoons coconut oil (or vegan butter)
Instructions
- Prep Your Dish: Line an 8×8-inch square baking dish with parchment paper for easy removal.
- Mix the Chocolate Base: In a microwave-safe bowl or small saucepan, combine chocolate chips, peanut butter, maple syrup, and coconut oil. Heat gently until melted, stirring until smooth and silky.
- Combine with Cereal: Pour the crispy rice cereal into a large bowl, then pour the melted chocolate mixture over it. Stir everything together until the cereal is evenly coated with the chocolate.
- Chill: Transfer the mixture into the prepared pan and press it down evenly. Refrigerate for at least 1 hour or until firm. Once chilled, slice into bars and enjoy!
Notes
For a nut-free version, substitute peanut butter with sunflower seed butter or soy nut butter.
To make keto-friendly, replace the maple syrup with a low-carb sweetener like stevia, erythritol, or monk fruit.
Ensure the chocolate chips are dairy-free for a paleo version.
Nutrition
- Serving Size: 1 bar
- Calories: 150
- Sugar: 8g
- Sodium: 30mg
- Fat: 9g
- Saturated Fat: 2g
- Unsaturated Fat: 6g
- Trans Fat: 0g
- Carbohydrates: 16g
- Fiber: 2g
- Protein: 4g
- Cholesterol: 0mg
