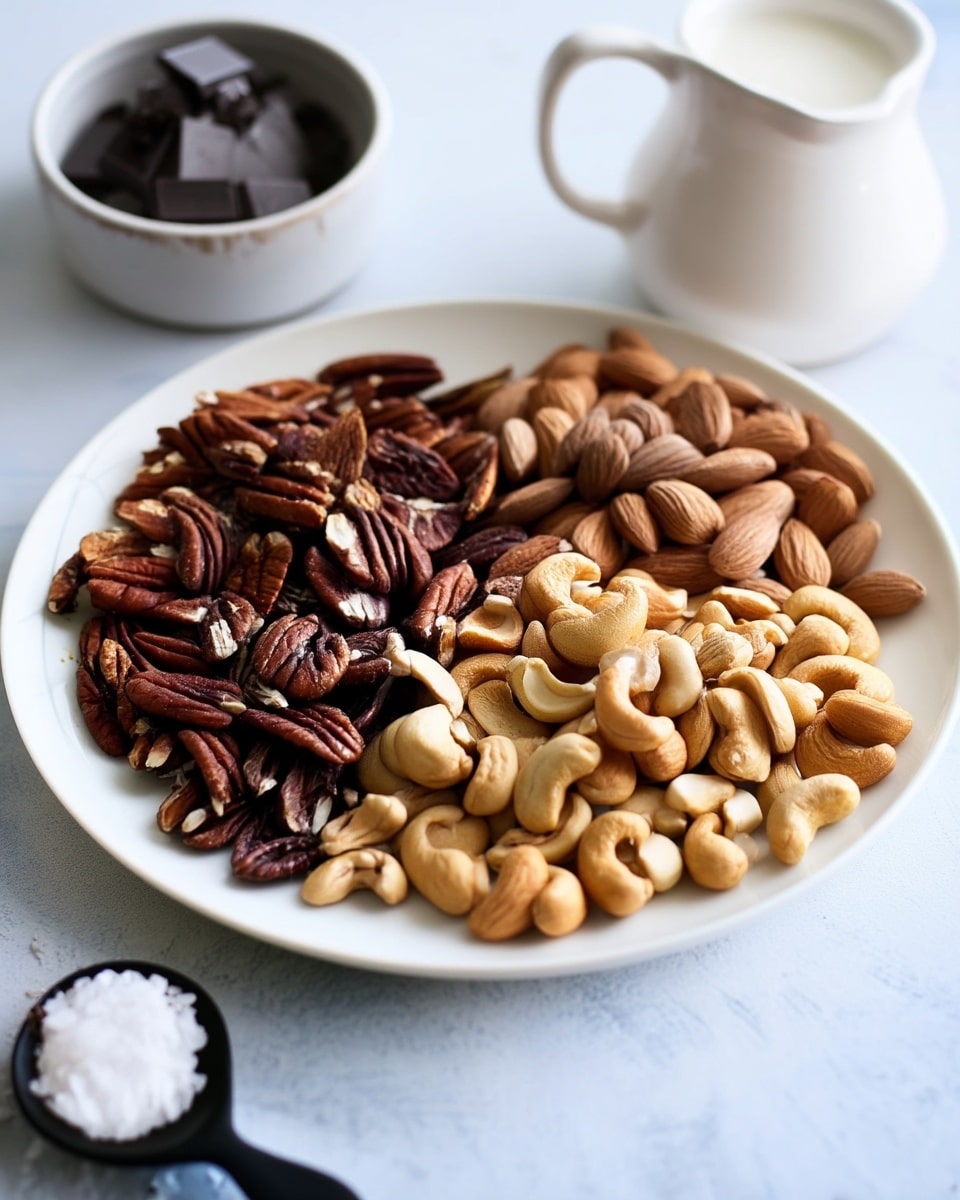
I love this recipe because it combines rich dark chocolate with the natural crunch and flavor of nuts. The contrast between creamy chocolate and crisp nuts makes each bite satisfying without requiring a complicated dessert recipe.
I also like how flexible the recipe is. I can use walnuts, pecans, cashews, hazelnuts, macadamia nuts, or a mixture of my favorites. The optional flaky sea salt adds a savory finish that balances the sweetness and richness of the chocolate.
Another reason I make these chocolate covered nuts is convenience. I only need about 20 minutes of active preparation and cooking, followed by chilling time while the chocolate sets.
Ingredients
(Note: All ingredient amounts are listed in the recipe card below.)
I cover a large baking sheet with parchment or wax paper and set it aside.
In a small saucepan, I combine the chopped chocolate and heavy cream over low heat. I stir constantly until the mixture becomes completely smooth and creamy, then remove it from the heat.
I dip each nut halfway into the melted chocolate mixture. I place each dipped nut onto the prepared baking sheet, leaving a little room between them.
Before the chocolate dries, I sprinkle a small amount of flaky sea salt over the chocolate-covered portion of each nut when I want a sweet-and-salty finish.
Once I have dipped all the nuts, I refrigerate them for 30 to 40 minutes, or until the chocolate has completely set.
I serve the chocolate covered nuts immediately or transfer them to the refrigerator or freezer for storage.
Servings and Timing
I get approximately 12 servings from this recipe. Most of the preparation is quick, and the additional time simply allows the chocolate coating to become firm.
Yield: 12 servings
Prep Time: 10 minutes
Cook Time: 10 minutes
Chill Time: 30 minutes
Total Time: 50 minutes
Variations
I like changing the nuts depending on what I have available. Walnuts and pecans give me a rich, earthy flavor, while cashews and macadamia nuts create a milder, buttery result. Hazelnuts are another favorite when I want a classic chocolate-and-hazelnut combination.
For a different chocolate flavor, I can substitute another type of chocolate for the 60% dark chocolate. Milk chocolate gives me a sweeter result, while a darker chocolate creates a more intense cocoa flavor.
I can also change the toppings. Instead of flaky sea salt, I sometimes add finely chopped nuts, shredded coconut, or a light dusting of cocoa powder before the coating sets.
For an attractive assortment, I use several varieties of nuts in the same batch. I find this especially useful when I prepare the recipe for a dessert platter or package the nuts as homemade gifts.
Storage/Reheating
I store chocolate covered nuts in an airtight container in the refrigerator. Keeping them chilled helps the chocolate coating remain firm and keeps the nuts ready for serving.
For longer storage, I can freeze them in a freezer-safe airtight container. I separate layers with parchment or wax paper so the chocolate-covered pieces do not stick together.
I don’t need to reheat chocolate covered nuts. I serve them chilled or allow them to sit briefly at room temperature before eating. If they have been frozen, I prefer letting them thaw in the refrigerator so condensation is less likely to affect the chocolate coating.
FAQs
What nuts can I use for chocolate covered nuts?
I can use walnuts, pecans, cashews, hazelnuts, macadamia nuts, or a combination. I like choosing nuts with different shapes and textures when I want a varied assortment.
Do I need to roast the nuts first?
I don’t need to roast the nuts because the recipe uses raw unsalted nuts. If I prefer a deeper, toasted flavor, I can roast them first and let them cool completely before dipping them into the chocolate.
Why do I add heavy cream to the chocolate?
I add heavy cream to create a smooth, creamy chocolate mixture that coats the nuts easily. I keep the heat low and stir constantly so the chocolate melts evenly.
Can I use milk chocolate instead of dark chocolate?
I can use milk chocolate when I prefer a sweeter flavor. I keep in mind that the finished coating will taste noticeably sweeter and less intense than the 60% dark chocolate version.
Is the flaky sea salt necessary?
I consider the flaky sea salt optional. I like adding it because the salty finish contrasts nicely with the rich chocolate, but I can leave it off when I want a straightforward chocolate coating.
Why isn’t my chocolate coating setting?
I make sure the dipped nuts chill long enough for the coating to become firm. I refrigerate them for at least 30 to 40 minutes and give them additional chilling time when necessary.
Can I completely cover the nuts in chocolate?
I can coat the entire nut instead of dipping it halfway. I prefer the half-dipped appearance because it shows off the nut and gives each piece a nice balance between chocolate and crunch.
Can I make chocolate covered nuts ahead of time?
I can easily make them ahead because they store well in the refrigerator or freezer. I keep them in an airtight container until I am ready to serve or package them.
How do I keep the chocolate covered nuts from sticking together?
I let the chocolate set completely before transferring the nuts to a storage container. When stacking them, I place parchment or wax paper between the layers to help prevent sticking.
Are chocolate covered nuts good for gifting?
I think they make an excellent homemade gift because they are simple, attractive, and easy to portion. Once the chocolate has completely set, I can arrange them in a gift box or food-safe container and keep them cool until I am ready to give them away.
Conclusion
Chocolate covered nuts are one of my favorite ways to turn a handful of simple ingredients into a rich and satisfying treat. I get crunchy nuts, smooth dark chocolate, and an optional touch of flaky sea salt in every bite. With minimal preparation and no baking required, I can make a batch for dessert, parties, holiday treats, or homemade gifts whenever I need something easy and delicious.